The Create Icon will open a Wizard to walk you through the new query process.
🎵 Note: If the Wizard ribbon is grayed out, open the right side task pane and click on “Query”. The Wizard will now be active.
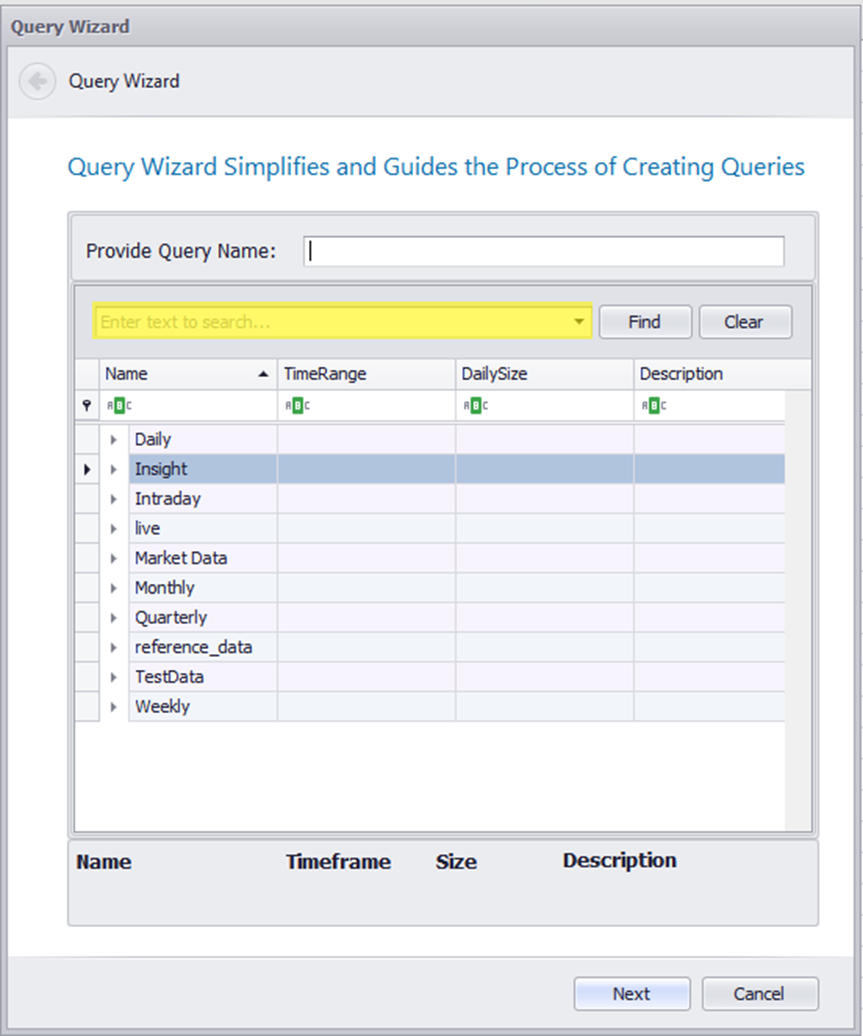
Provide a Query Name
At the beginning of the dialog there is a place to name your query. It is always best practice to provide a query name. If you choose to skip this, a default query name will be provided.
Select Dataset from the Tree
The datasets available to query are listed in a tree structure by group. To see the contents of the group double click on the 1st arrow or click on the 2nd arrow.
Searching for Datasets by Name
Simply use the search text box highlighted below.
Choosing Symbols
Symbols drive most queries. You can choose to type in your symbol, to tie your symbols to a location in your spreadsheet or to bring in all the symbols.
🎵Note: if you do not specify a set of (1 or more) symbols, you will receive all the symbols in the dataset.

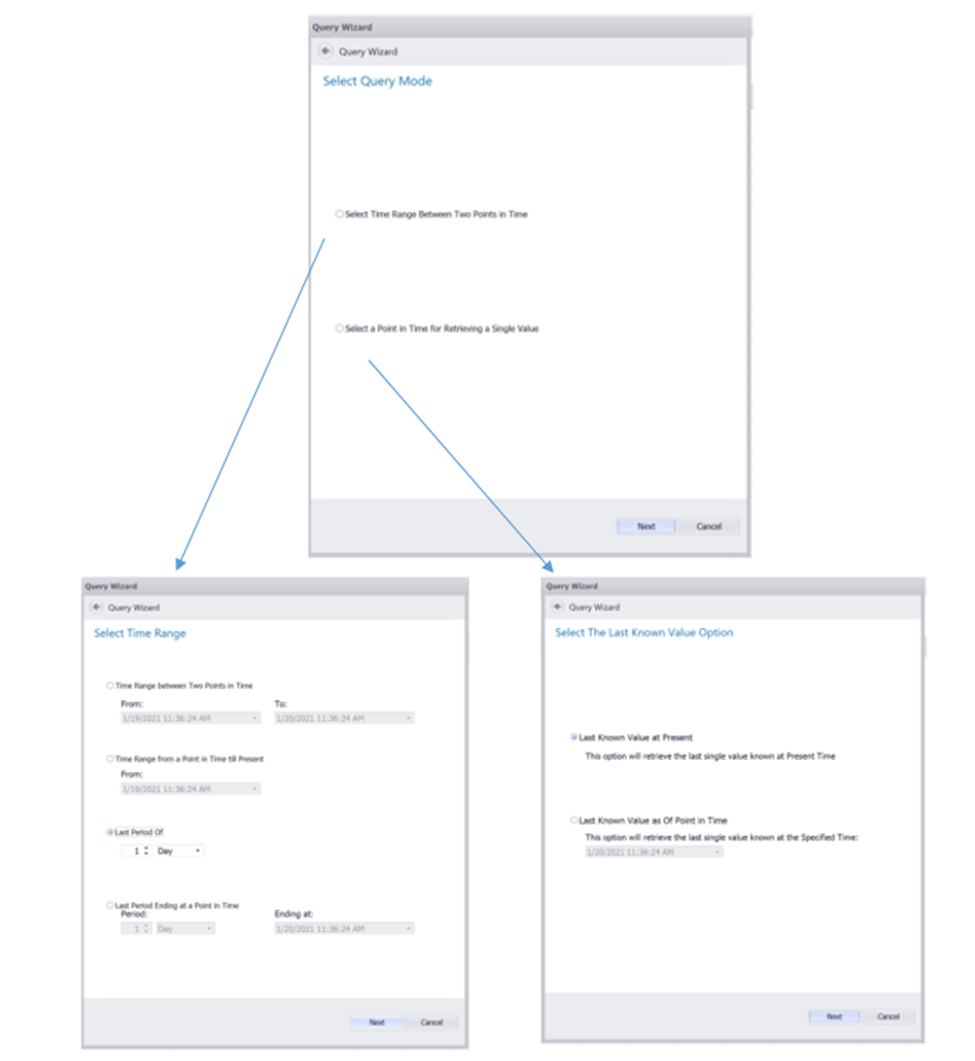
Time Range or Point in Time
The next set of dialogs allows you to choose your time range or point in time.
💡 Best Practice: Some data sets contain large amounts of data. Excel has limitations on how many rows of data can appear in a spreadsheet’s tab. It is Best Practice to query for a specific symbol first to understand how many rows of data you are likely to retrieve.
Choosing a Data Location
The next dialog box allows you to choose the location of the data.
If you choose Active Cell it will go to the location where you last were editing or had clicked on.
🎵 Note: If you wish to change the location of your active cell, click on the spreadsheet and change the location prior to pushing the Finish Button.

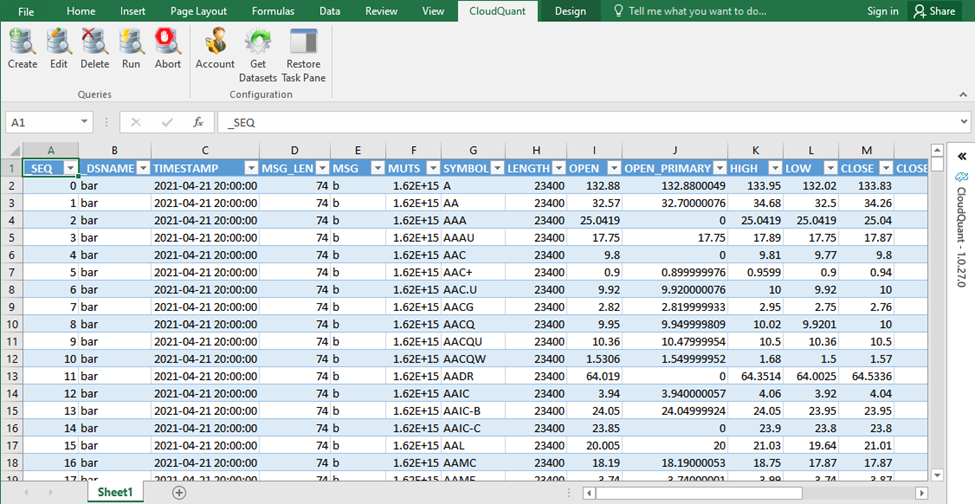
The Results
The results of your query will appear in your spreadsheet as a table.